
Custom Ads
Custom Ads let you sell advertising directly to local businesses and manage your own ad inventory. Upload banners, set display schedules, and track impressions without sharing revenue with ad networks.
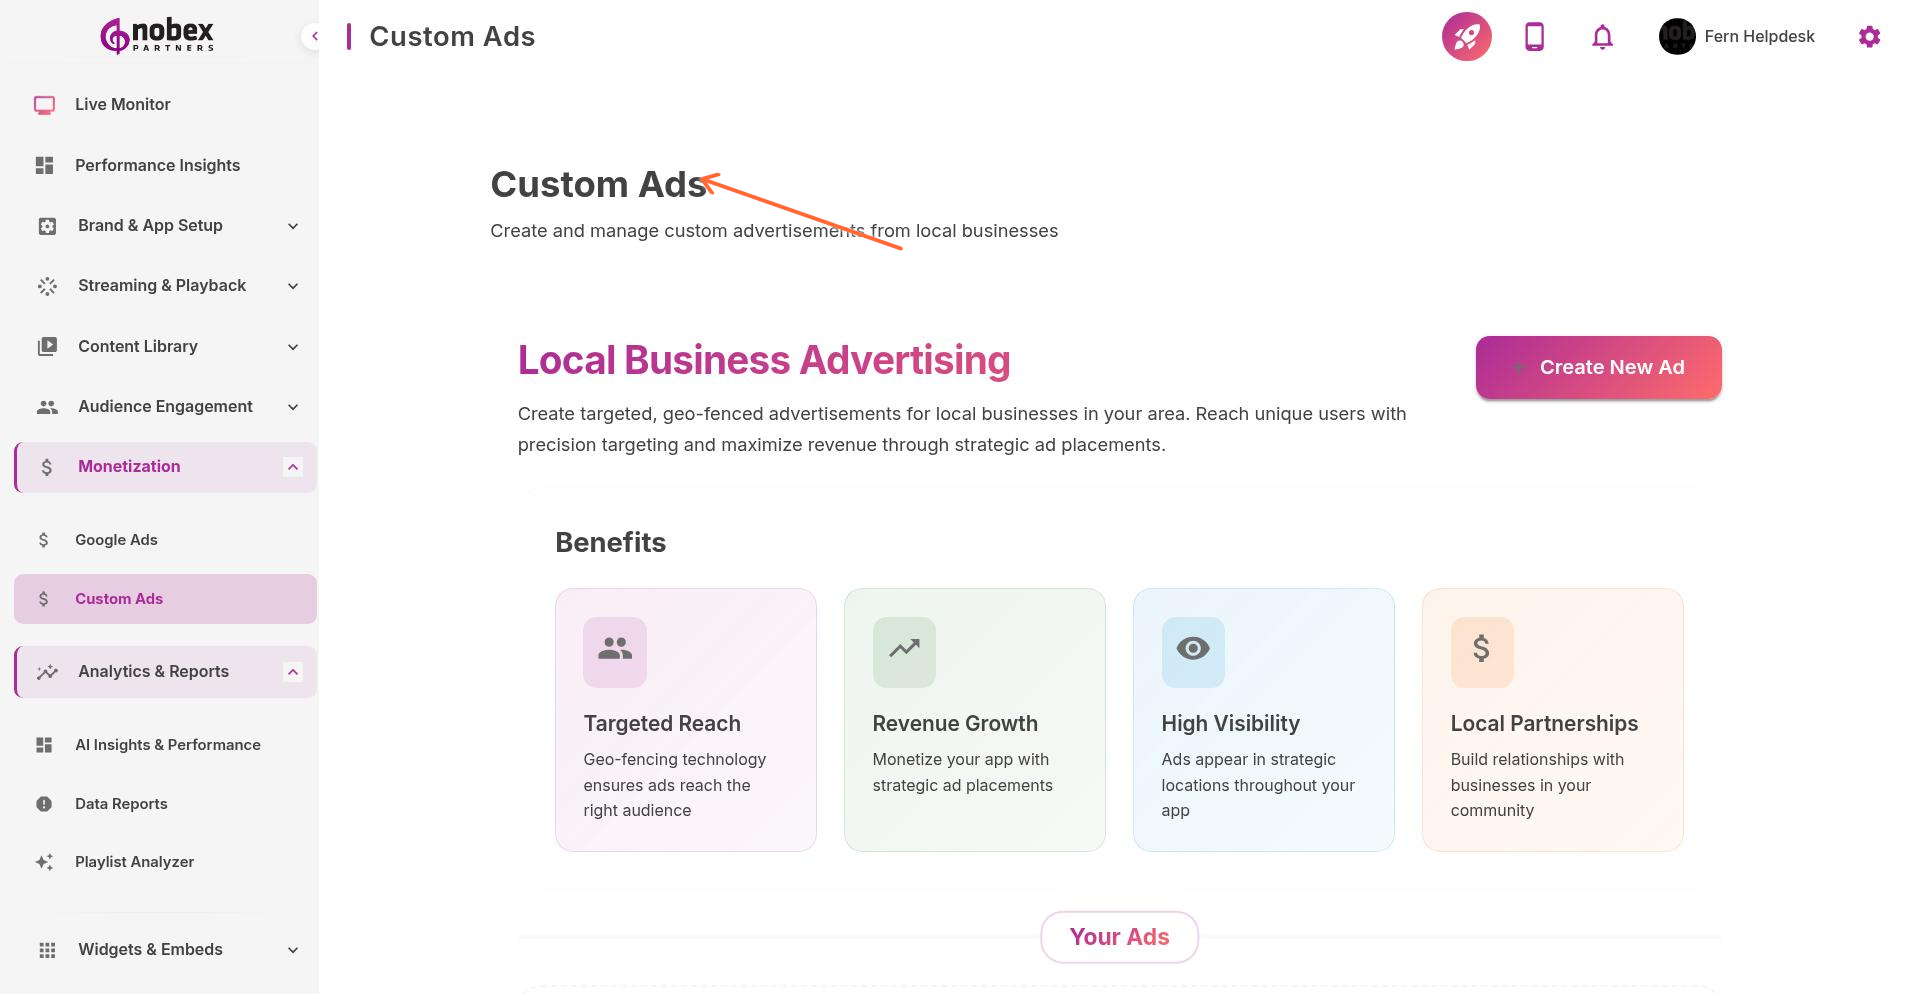
Accessing Custom Ads
Navigate to Monetization → Custom Ads or visit /monetization/custom-ads.
Creating a Custom Ad
Click Create Ad to add a new advertisement. Provide:
Ad Name — Internal identifier for your records
Ad Creative — Upload image banner (recommended: 320x50 or 728x90 pixels)
Destination URL — Where users go when they tap the ad (optional)
Display Schedule — Start and end dates for the campaign
Frequency Cap — How often the ad shows to the same user
Use high-resolution images (2x or 3x the display size) so ads look sharp on retina displays.
Ad Placement
Choose where ads appear in your app:
Home Screen Banner — Persistent banner at bottom of main screen
Between Content — Inline ads in podcast lists or stories feed
Audio Breaks — Full-screen interstitial during natural pauses
Selling Ad Space
Sell ads to local businesses based on impressions or time period. Custom Ads give you full control over pricing and inventory—you keep 100% of revenue.
Track ad performance in Reports → Revenues. Share impression counts and click-through rates with advertisers to justify pricing.
Best Practices
Limit active campaigns to 3-5 advertisers to ensure each gets meaningful exposure
Rotate ads to prevent listener fatigue
Charge premium rates for home screen placement vs. lower placements
Create ad packages (e.g., "1,000 impressions for $50" or "One month banner for $200")