
Chapter 6: Using the Monetization Dashboard
The Monetization dashboard helps you generate revenue from your mobile app through Google Ads integration and custom advertising campaigns. You can manage all your advertising activities and track performance from one central location.
Accessing the Monetization Dashboard
To access your monetization features, log in to your Nobex Partners admin portal and click the Monetization tab in the left sidebar.
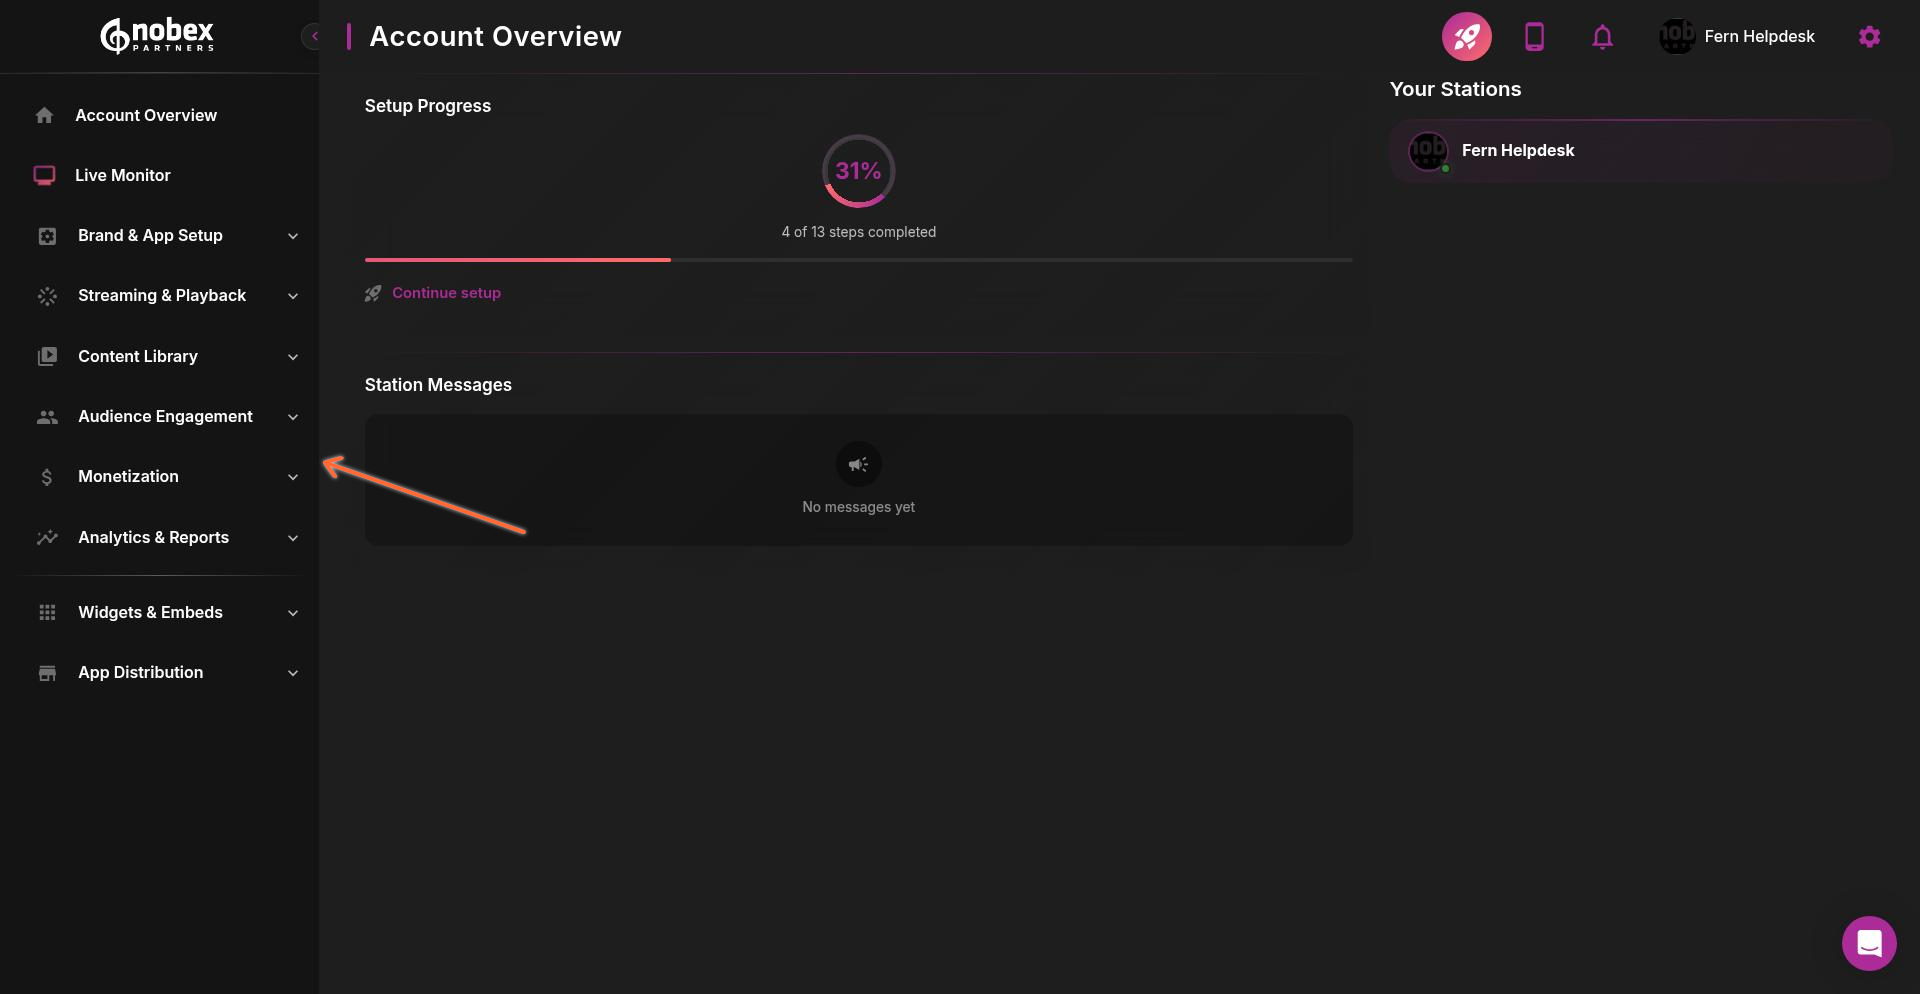
The Monetization section is organized into two main areas: Google Ads and Custom Ads.
Google Ads Integration
The Google Ads section allows you to connect your Google AdMob account to display ads in your app. Click Google Ads to view your setup options.
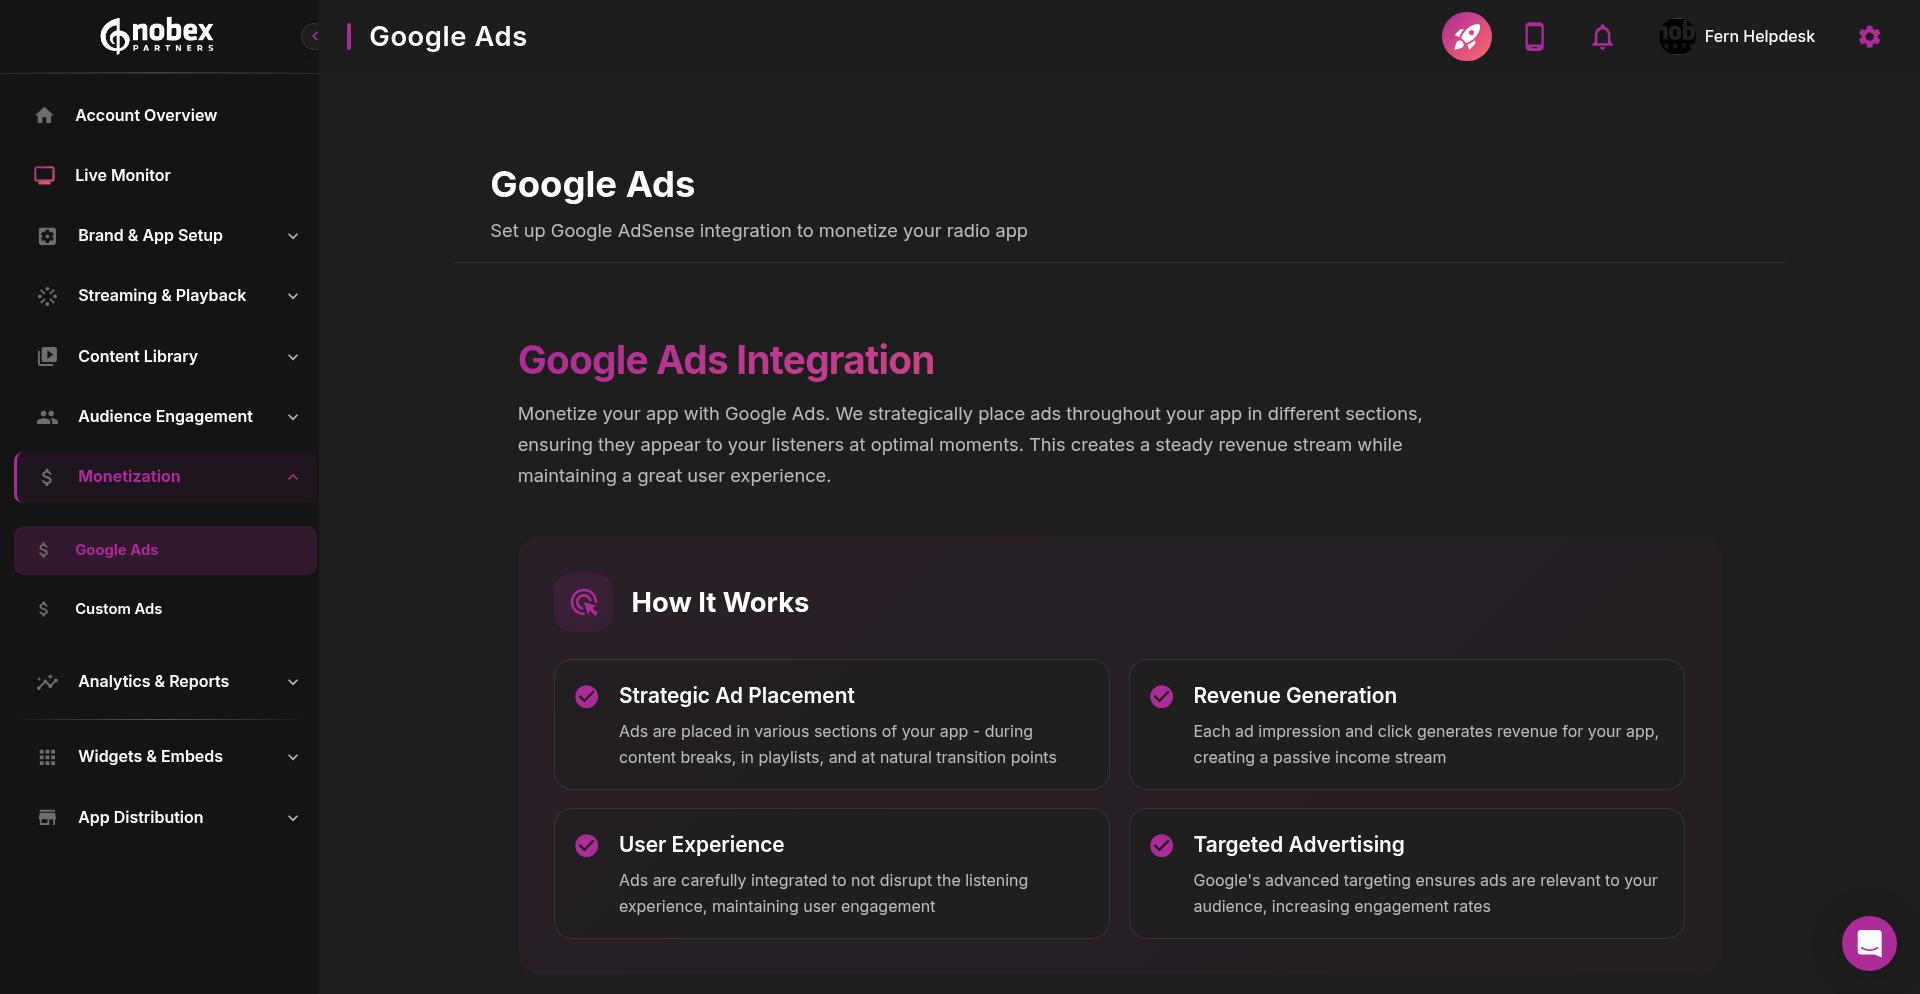
Nobex Partners offers two ways to connect your Google Ads account:
Option 1: Self-Setup
Set up your own Google AdMob account and provide your account details directly. This option gives you full control over your ad account configuration and lets you manage settings independently. You'll need to:
Create a Google AdMob account
Generate your Ad Unit IDs for the ad placements you want (banners, interstitials, native ads)
Enter your account details in the Nobex dashboard to link your app
Self-setup is ideal if you already have a Google AdMob account or prefer to manage your advertising settings directly.
Option 2: Concierge Setup Service
Our team handles the entire setup process for you. We'll create your AdMob account, configure your ad units, and link everything to your app. This white-glove service removes the technical complexity and gets you monetizing faster.
The concierge option includes:
AdMob account creation and configuration
Ad unit setup for optimal placement
Integration with your Nobex Partners app
Testing to ensure ads display correctly
Concierge setup is perfect for customers who want to start monetizing quickly without managing the technical details.
Once the account is set up, we will provide you with the necessary access and hand off to you, putting you back in control.
Custom Ads
Custom Ads let you sell advertising space directly to local businesses or sponsors. You keep 100% of the revenue and have complete control over what ads appear in your app. Click the Custom Ads tab to manage your campaigns.
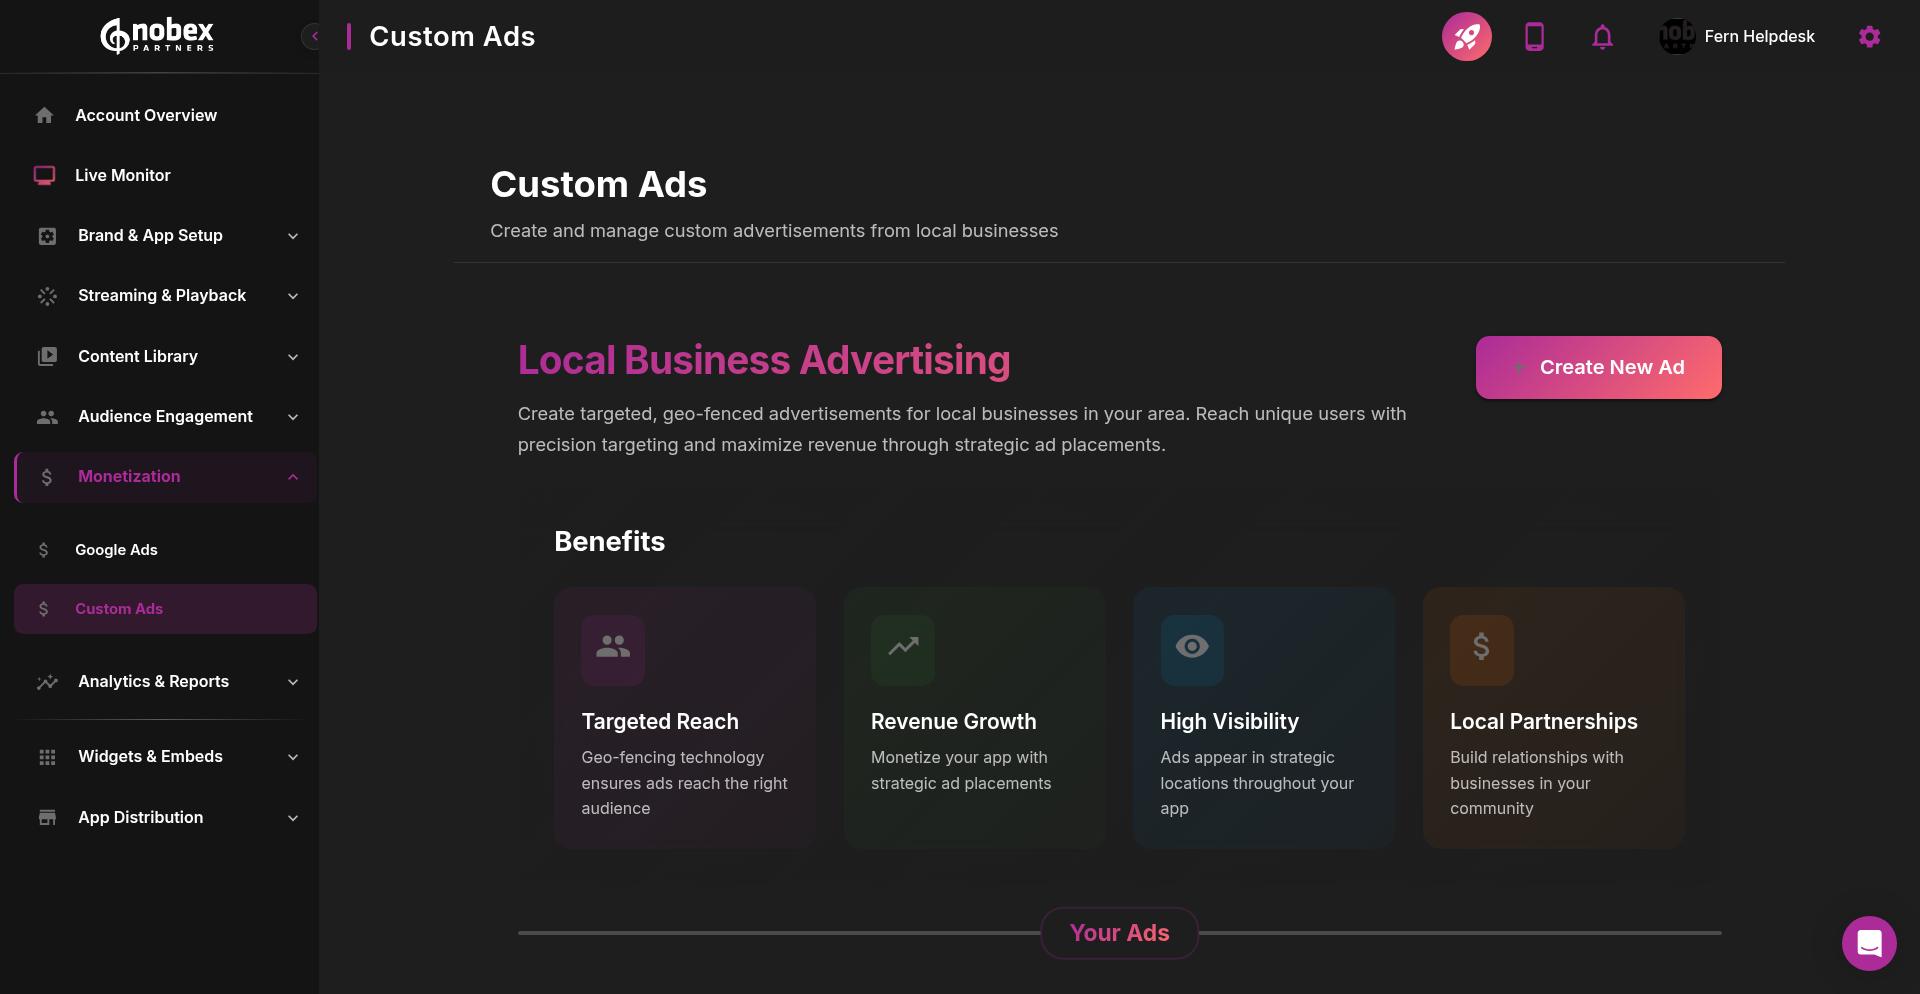
The Custom Ads page shows all your active and scheduled advertising campaigns, along with tools to create new ads and manage existing ones.
Creating a Custom Ad
To create a new custom ad campaign, click the Create New Ad button.
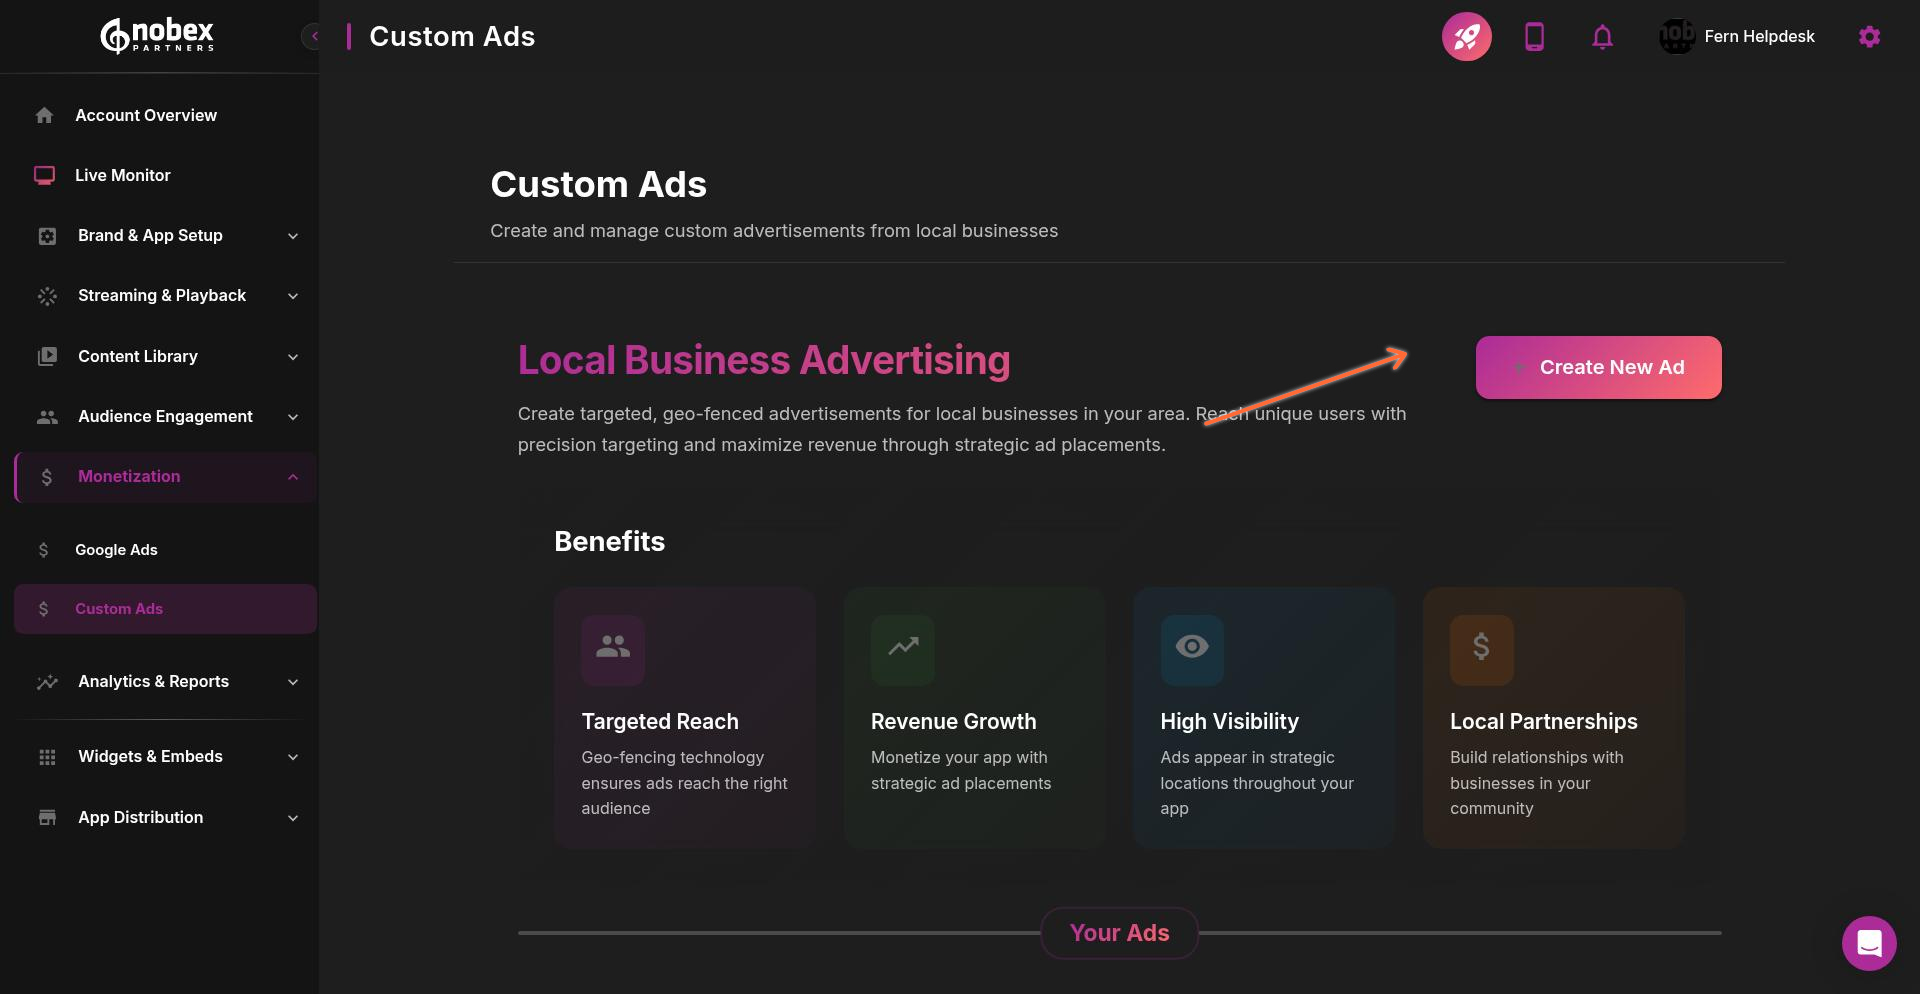
The ad creation form appears with fields for all your campaign details:

Advertiser Information
Start by entering the advertiser's name and uploading their logo or creative image. The image you upload will appear in your app as the ad banner.
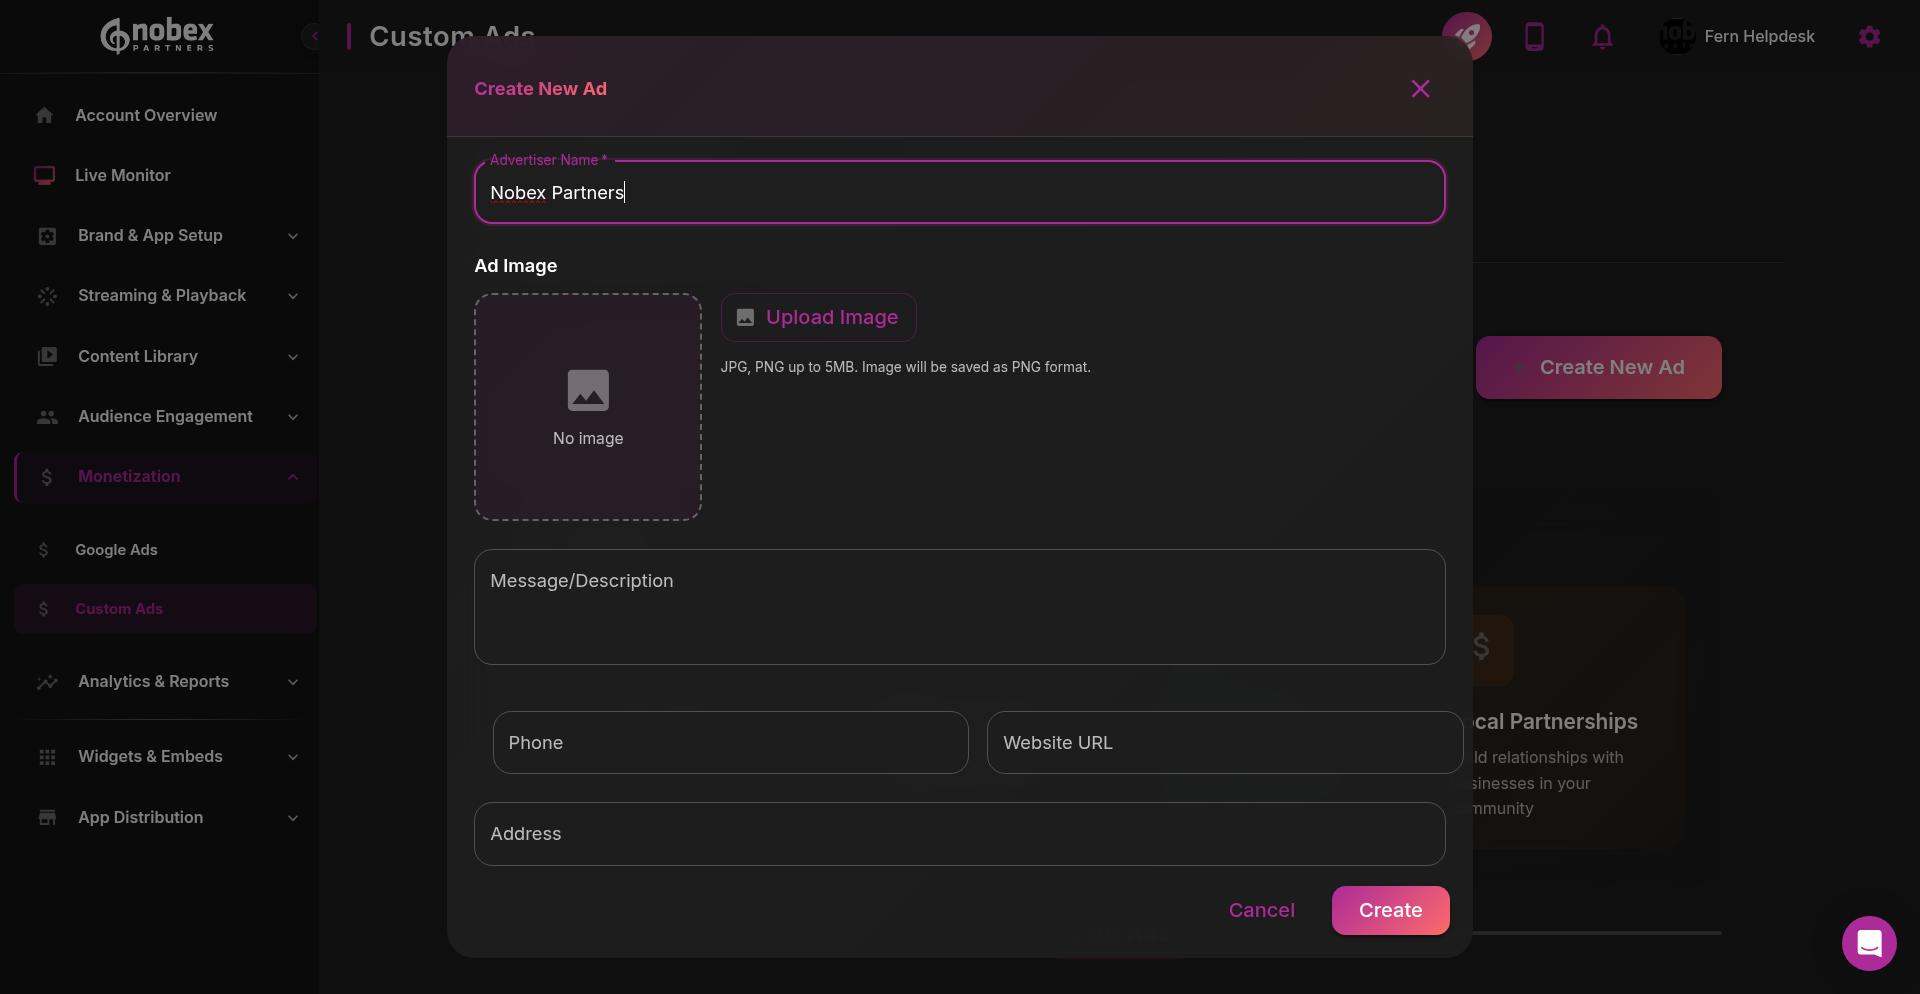
Use high-quality images sized appropriately for mobile displays. Standard banner sizes like 320x50 or 300x250 work best.
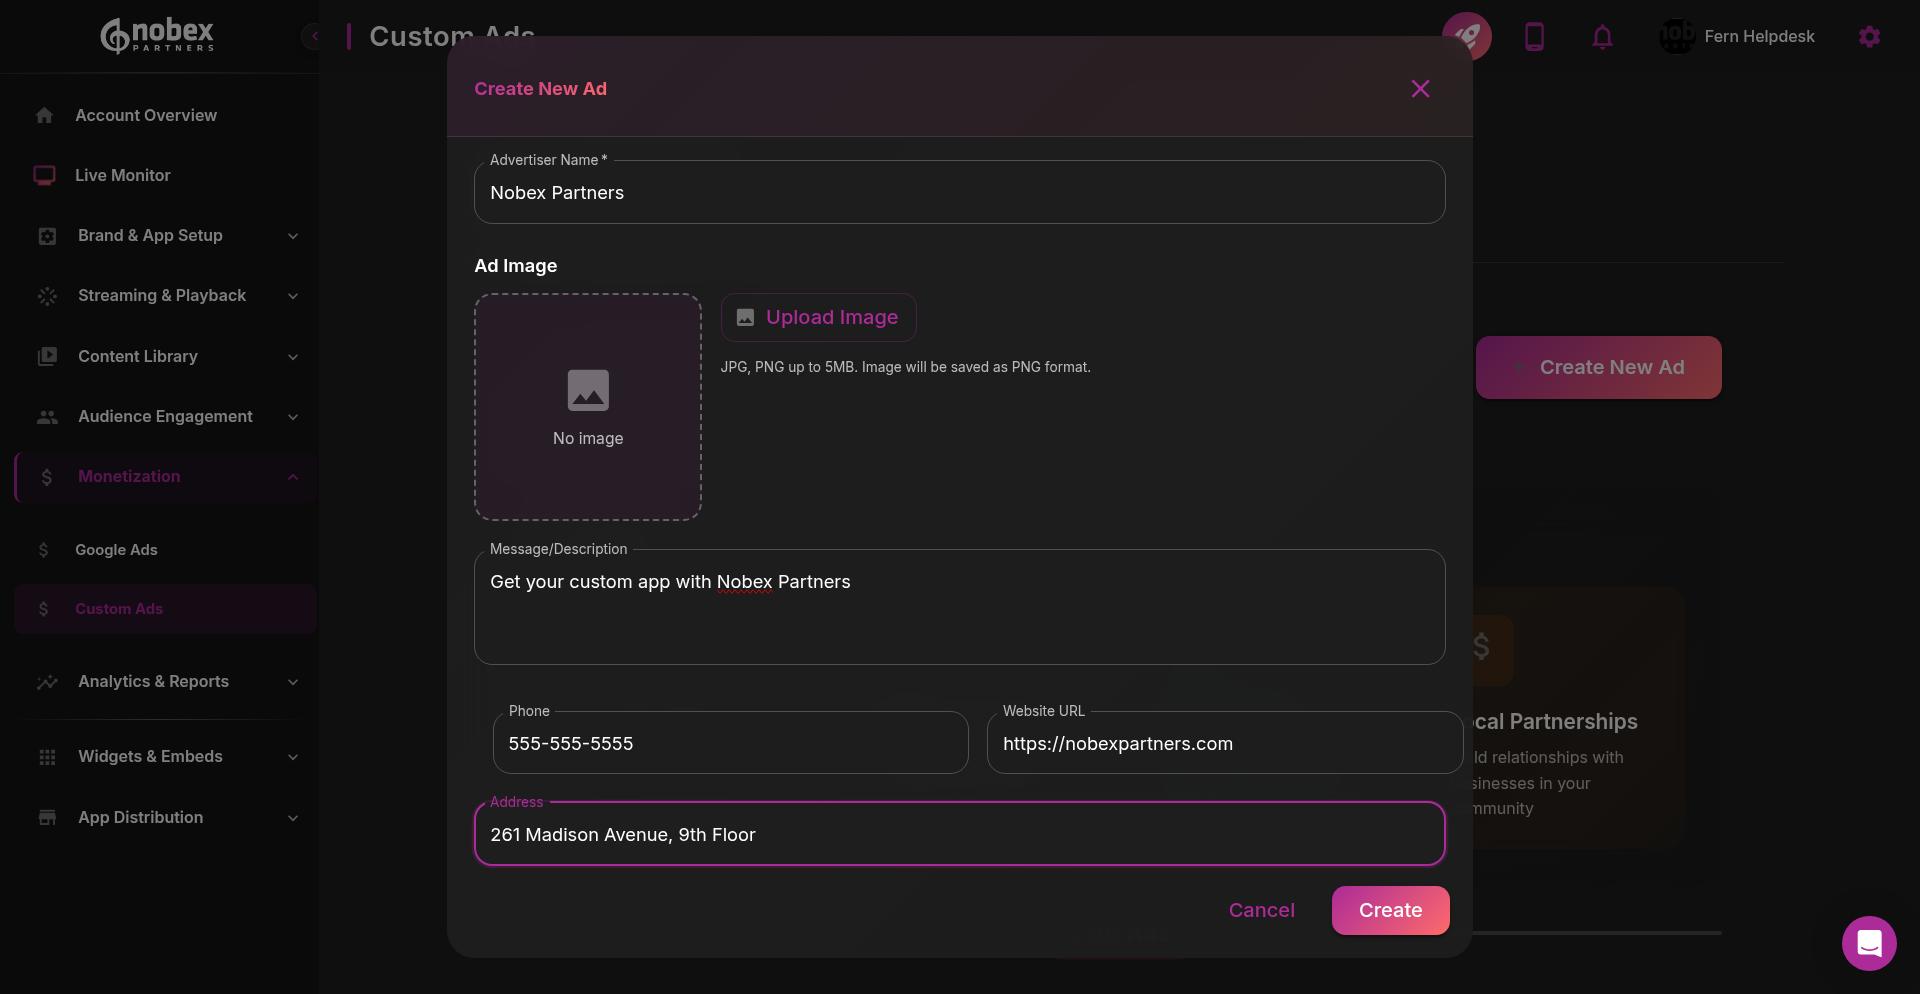
Ad Message and Contact Details
Next, add the advertising message and contact information. These fields let listeners connect with the advertiser directly from your app:
Message: The primary text that appears with the ad
Phone: Click-to-call phone number
Website URL: Link to the advertiser's website
Address: Physical location for map/navigation integration
Schedule and Budget
Set your campaign dates and budget to control when the ad runs and how much you're charging:
Start Date: When the ad campaign begins
End Date: When the ad campaign ends
Budget: The total campaign value
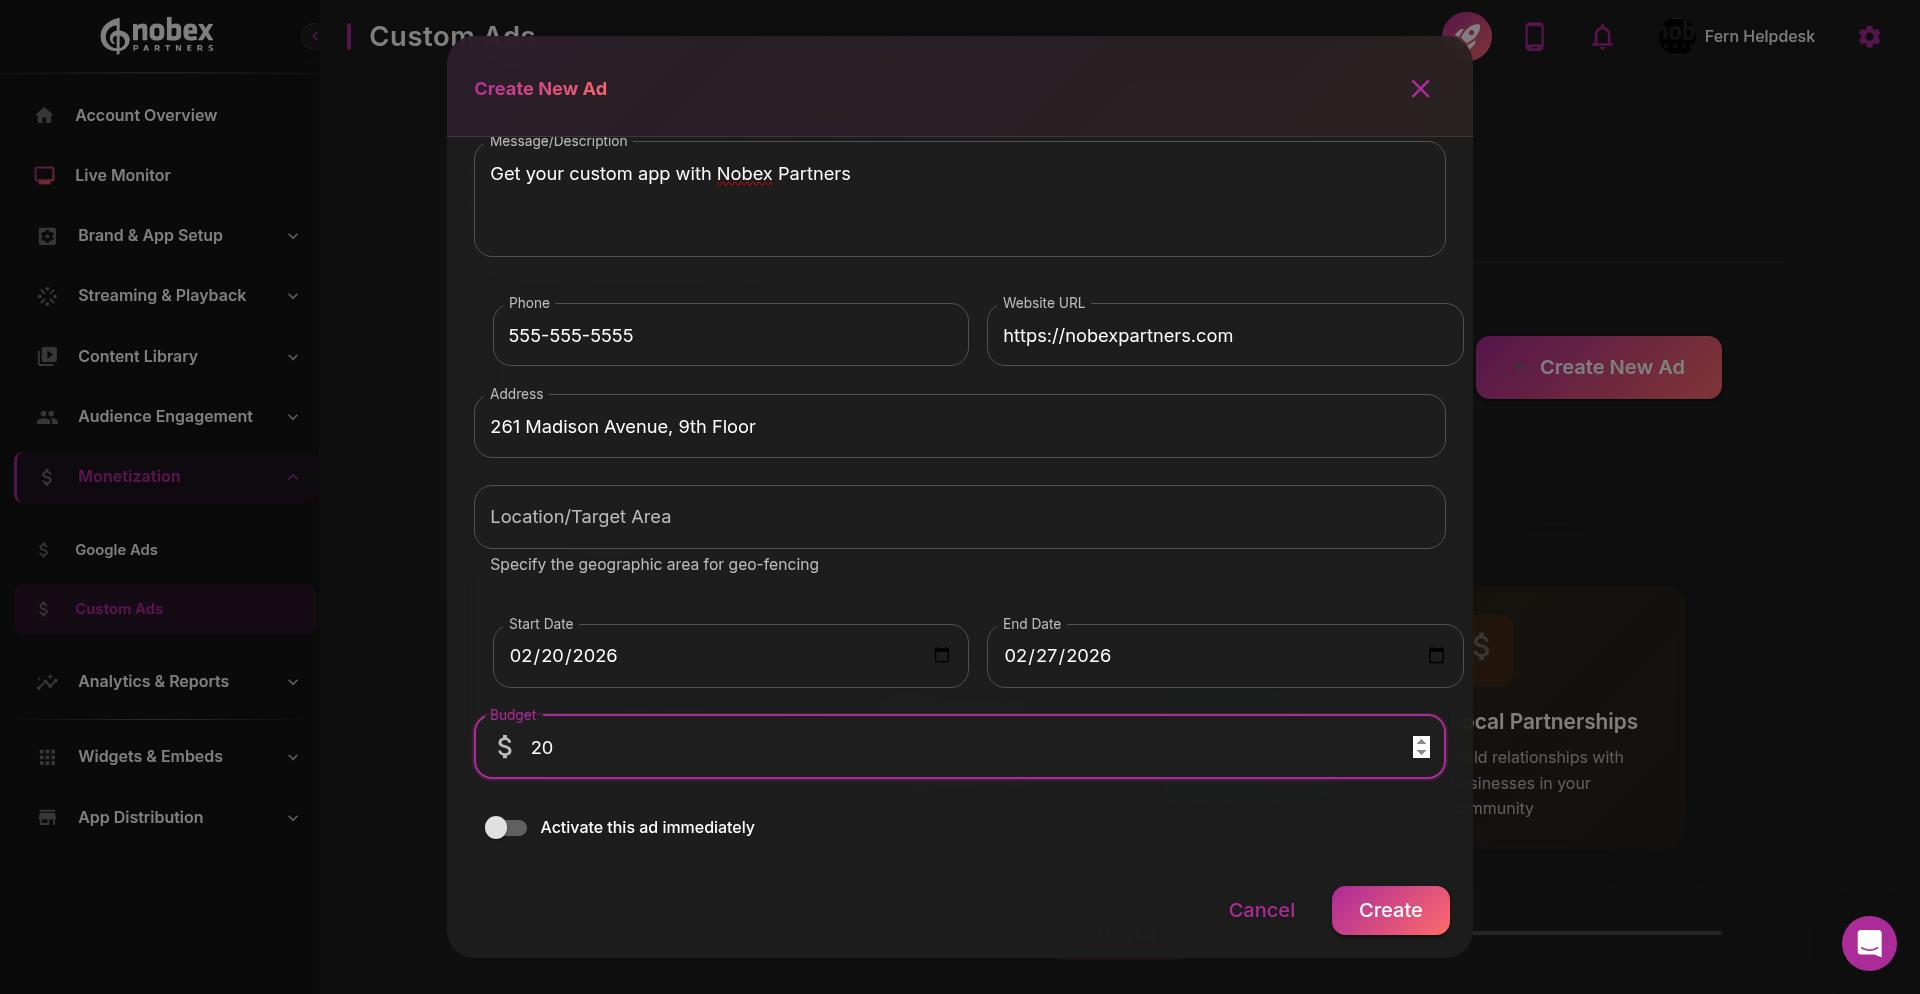
The budget field helps you track revenue but doesn't affect ad delivery. Your custom ads will run for the entire scheduled period regardless of budget. They will stop displaying when your daily budget is reached.
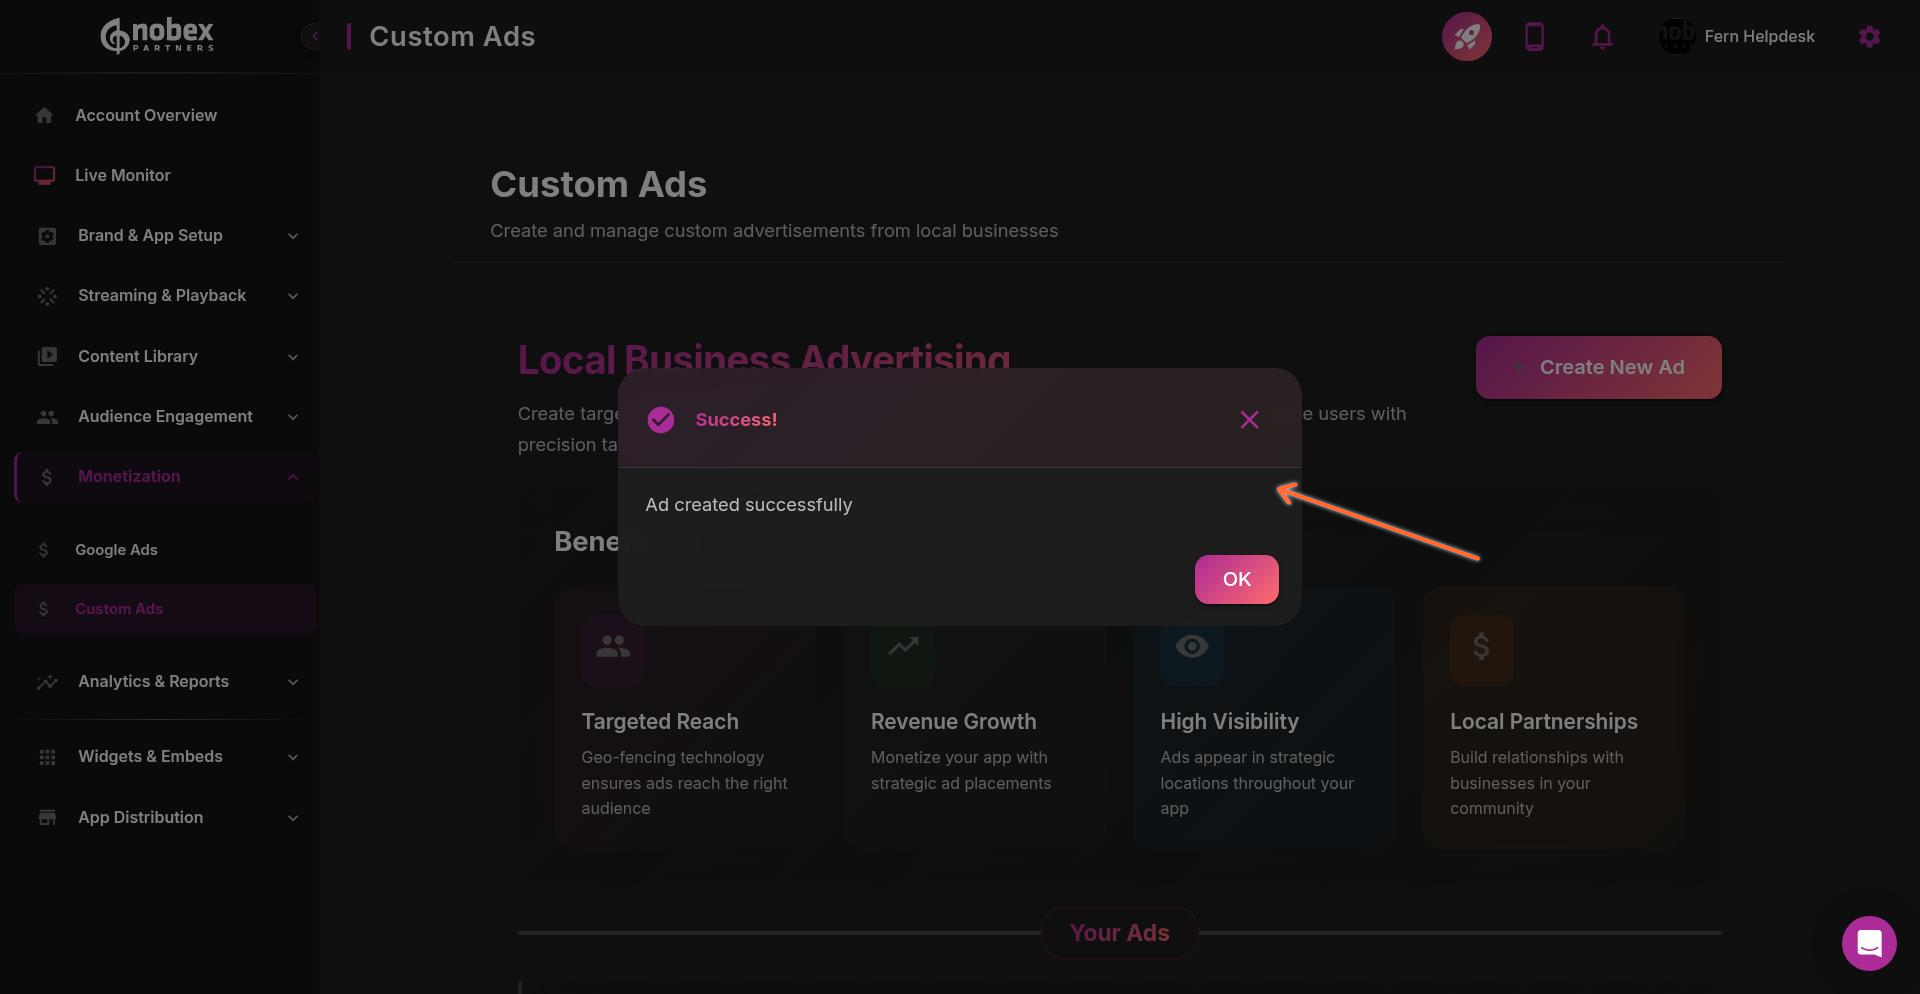
Once all fields are complete, click Create Ad to save your campaign. You'll see a confirmation message when your ad is successfully created.
Analytics & Reports
Track the performance of all your advertising campaigns through the Analytics & Reports section. Click Analytics & Reports in the left sidebar to access your monetization metrics > Data Reports > Custom Ads.

The revenue reporting dashboard shows comprehensive performance data for Custom Ads campaigns. Select your app from the drop down of custom ads on your account and view the results:
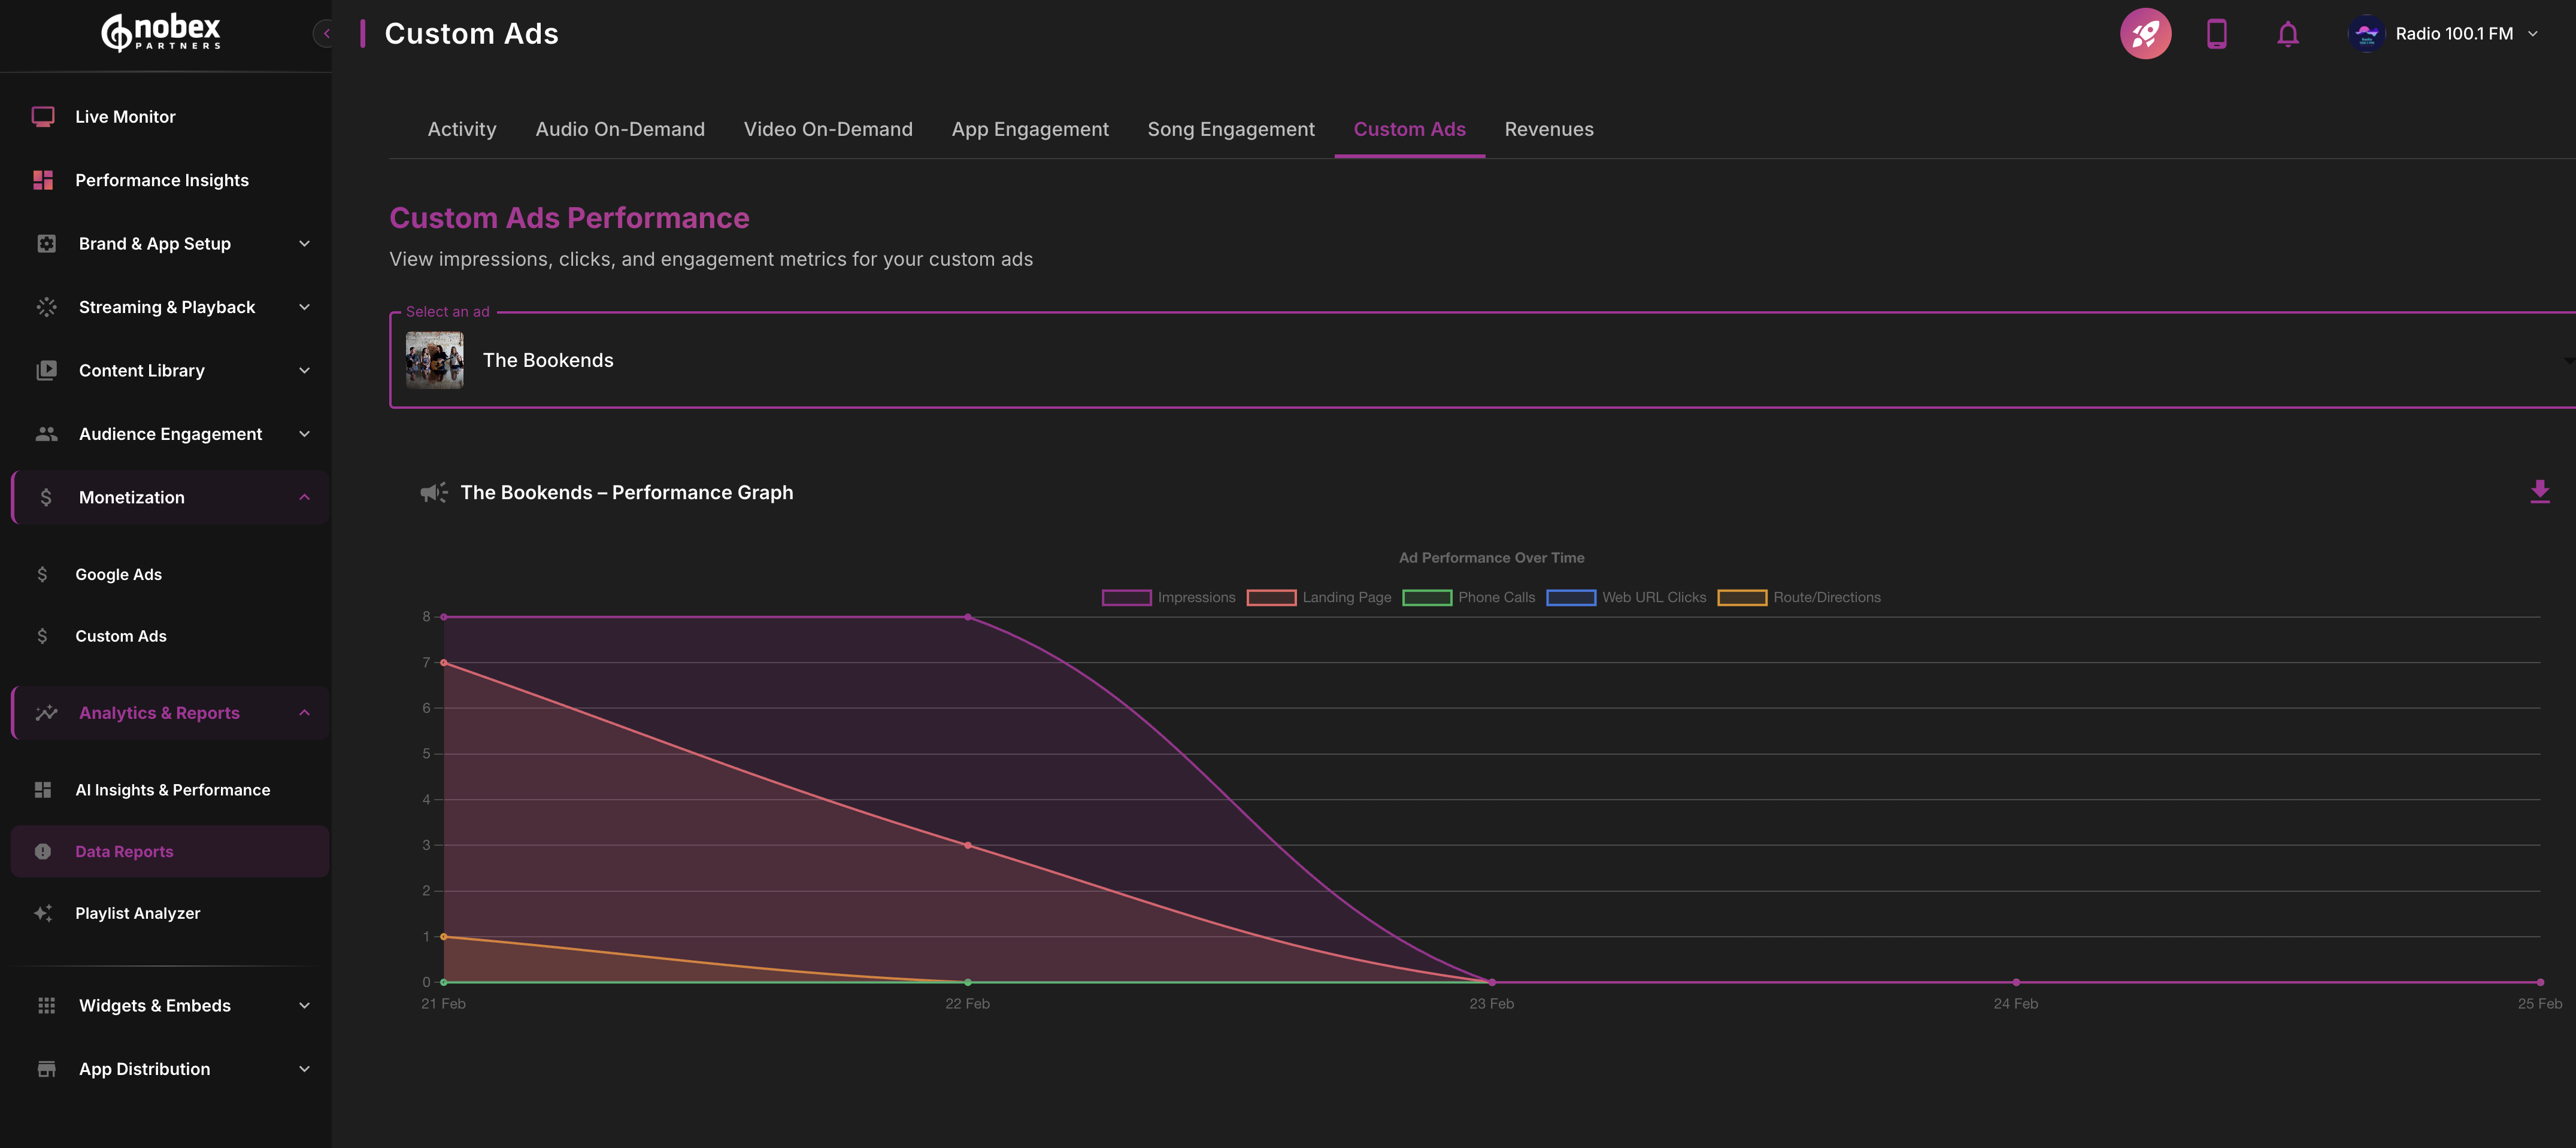
Key Metrics
Your monetization reports track the following metrics:
Impressions: How many times ads were displayed to users
Clicks: How many times users clicked on ads
Calls: Phone calls initiated from click-to-call ad buttons
Navigation: Users who opened map directions from ad addresses
Site Visits: Users who clicked through to advertiser websites
Use these metrics to demonstrate ROI to your advertisers and optimize your ad placements for better engagement.
Next Steps
To maximize your app revenue, consider:
Starting with Google Ads for automated revenue while you build your custom advertising sales
Creating attractive media kits using your analytics data to sell custom ad packages
Reviewing your reports regularly to identify high-performing ad placements
For more information about specific monetization features, see Google Ads Integration and Custom Ads.